
Gear guide
How to Sell Used Outdoor Gear Online
A practical, step-by-step guide to selling outdoor equipment online - inspecting and preparing your gear, photographing it well, pricing it realistically, writing an honest listing and getting it to the buyer.
By Trail Closet ·
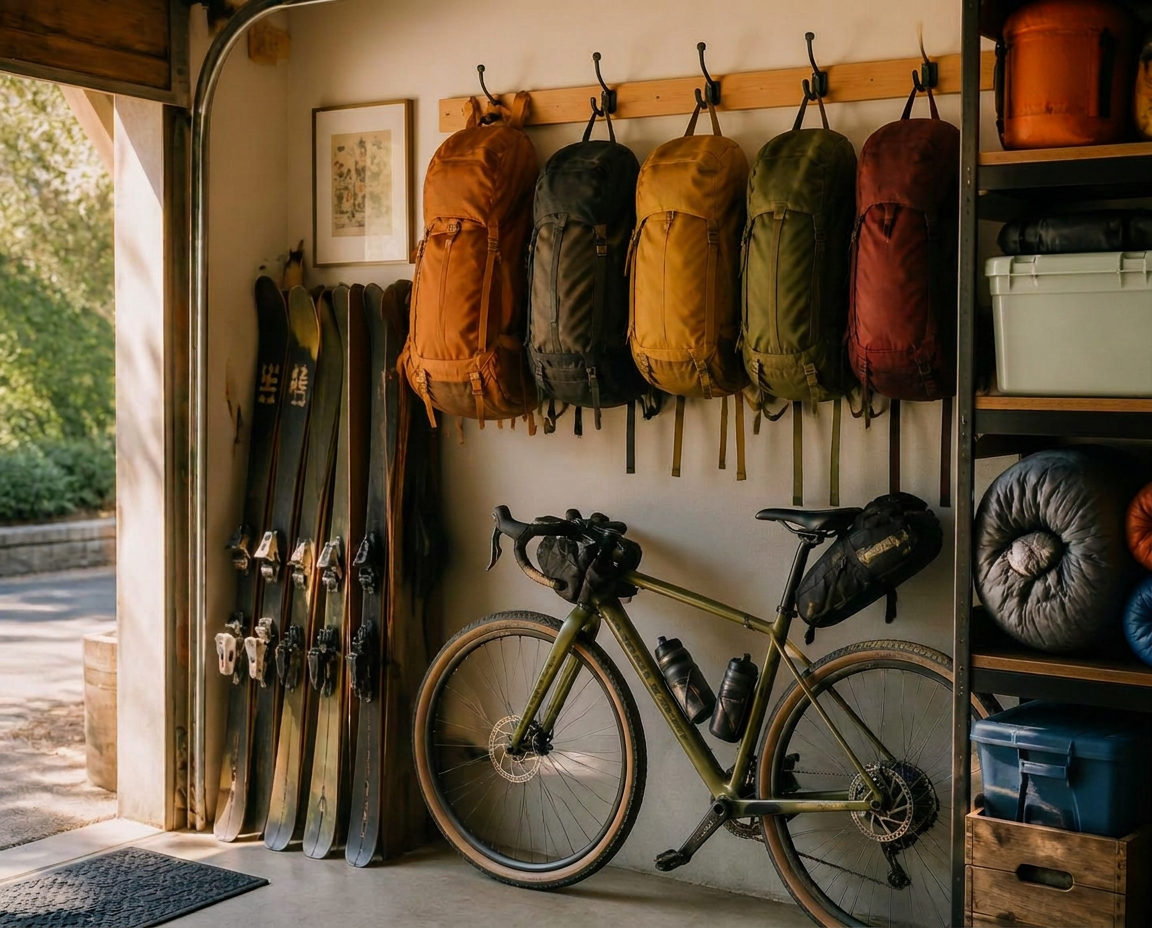
Outdoor gear is expensive, and much of it can have years of adventure left after the original owner stops using it. If a tent, backpack, sleeping bag, bikepacking bag, climbing item or other piece of equipment is sitting unused in a closet or garage, selling it can help you recover some of its value and put that gear back to use.
Trail Closet provides a marketplace built specifically for buying and selling outdoor gear. This guide walks through the whole process - deciding what to sell, preparing and photographing it, pricing it, writing the listing, and getting it to the buyer.
1. Decide what gear you want to sell
Start by pulling everything out and looking at it honestly. A piece of gear you have not touched in two seasons is usually a better candidate than something you keep meaning to use. Once you have a shortlist, inspect each item carefully before you plan to list it.
Look for:
- General wear - abrasion, fading, thinning fabric, worn tread or scuffed hardware
- Damage - tears, punctures, cracks, dents, delamination or broken components
- Missing parts - stakes, guylines, footprints, straps, tools, keys, chargers, cases
- Stains, odors and mildew, especially on anything stored damp
- Repairs, whether you did them yourself or had them done professionally
- Functional issues - zippers that catch, a stove that will not prime, a pump that will not seal, a shifter that skips
Write down what you find. That list becomes the backbone of your listing later. Represent the item's condition accurately - every flaw you note up front is one a buyer cannot be surprised by afterward. If you are unsure whether an item is still fit for use, particularly with life-safety equipment, have it evaluated by a qualified shop or manufacturer before you decide to sell it, and follow any manufacturer guidance about retirement or resale.
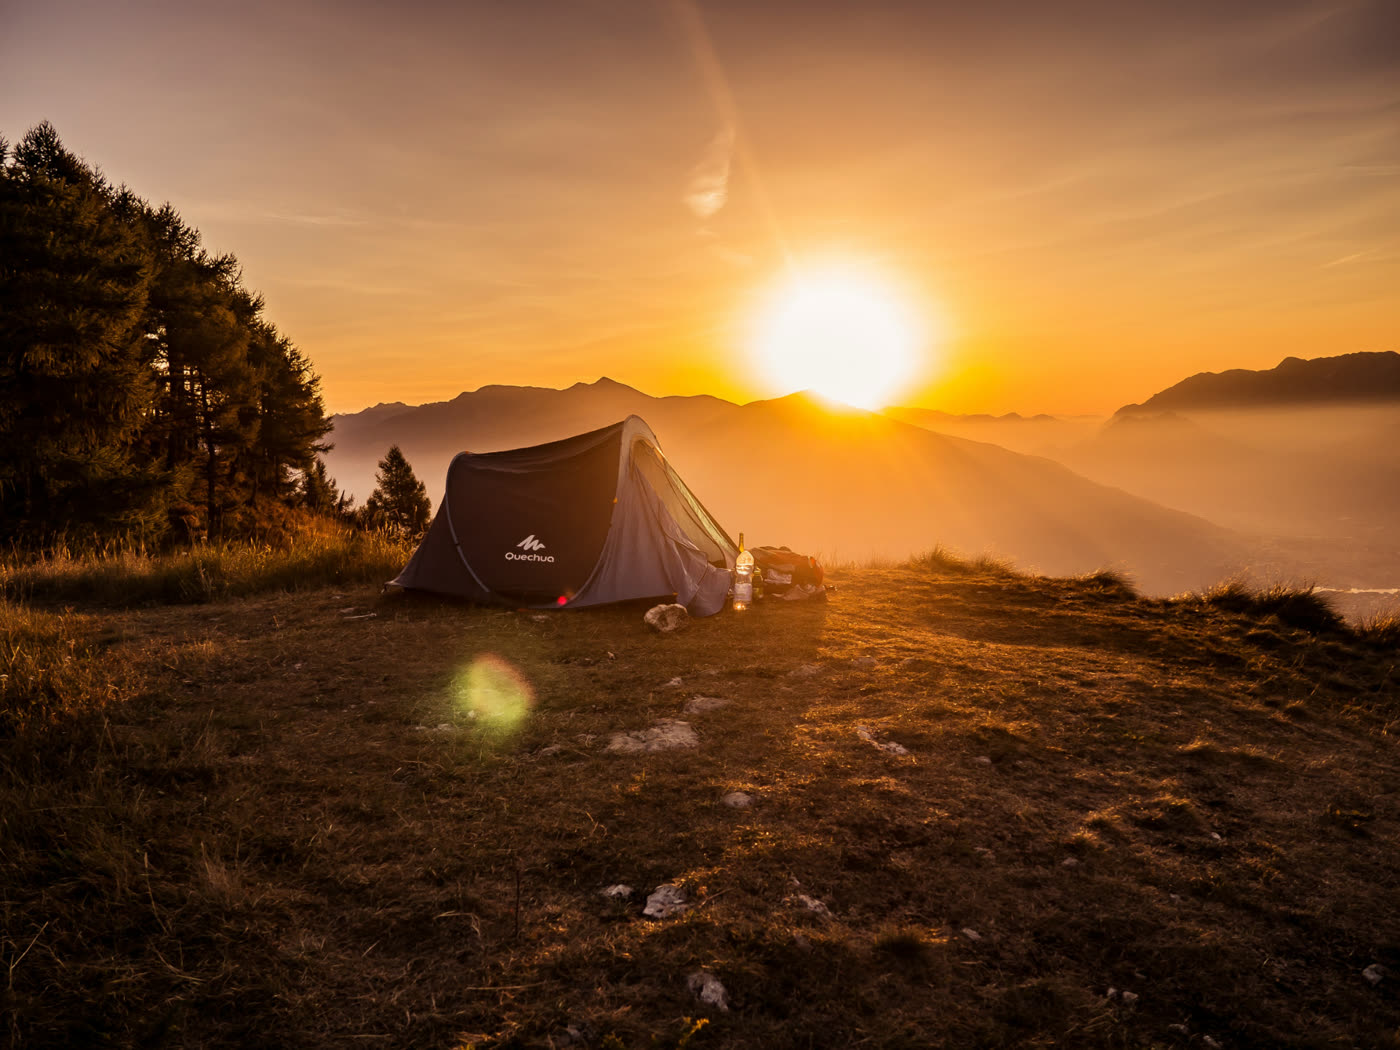
2. Clean and prepare your gear
Clean, well-presented equipment is simply easier for a buyer to evaluate. Dirt hides detail, and a photo of a dusty tent tells someone almost nothing about the fabric underneath.
- Empty every pocket and compartment, and shake out debris
- Wipe down hard surfaces and brush off loose dirt and sand
- Make sure anything fabric is completely dry before storage or shipping - packing gear damp is how mildew starts
- Gather the accessories, cases, manuals and spare parts that belong with the item
- Check that zippers, buckles, straps and closures still operate
For anything technical - waterproof shells, down insulation, ropes, wetsuits, drivetrains - follow the manufacturer's care instructions rather than a generic method. The wrong detergent or a hot wash can permanently damage a garment's coating or loft, and a well-meaning cleaning attempt can cost more value than the dirt ever did. If you are not certain how to clean something safely, leave it as-is and photograph it honestly.
One rule matters more than the rest: do not clean, edit or stage an item in a way that hides wear, repairs, damage or stains. Presentation is fine. Concealment is not, and it tends to come back as a dispute.
3. Take good photos
Photos do most of the selling. Someone shopping secondhand cannot pick the item up, so your images have to answer the questions they would ask in person.
- Shoot in good natural light - outdoors in shade, or near a window. Avoid harsh direct sun and dim indoor lighting that hides color and texture
- Use a plain, uncluttered background so the item is the subject
- Take full-item photos from multiple angles: front, back, sides, top and underside where relevant
- Photograph brand and model labels, size tags and any serial or date-of-manufacture markings
- Include close-ups of wear so the buyer can judge how much life is left
- Photograph every area of damage or repair, clearly and in focus
- Show everything that is included, laid out together - stakes, poles, straps, cases
A set of honest photos helps potential buyers understand exactly what they are considering purchasing, and it cuts down on back-and-forth messages before a sale.
4. Research what your gear is worth
Before you settle on a number, gather some context:
- The original retail price when you bought it
- The current retail price of the same or equivalent model, including any sale pricing
- Brand and model - some hold value considerably better than others
- Age, and how many seasons of use it has behind it
- Condition, including any damage or repairs
- What comparable secondhand items are actually listed at
There is no universal depreciation percentage that works across outdoor equipment. A lightly used premium sleeping bag, a five-year-old entry-level tent and a bike with a replaced drivetrain all price very differently. The appropriate price varies considerably depending on the specific item, its age and its condition, so let the comparables lead. Browsing similar listings - for example current used backpacking gear or used camping gear - is a practical way to see where real items in your category sit.
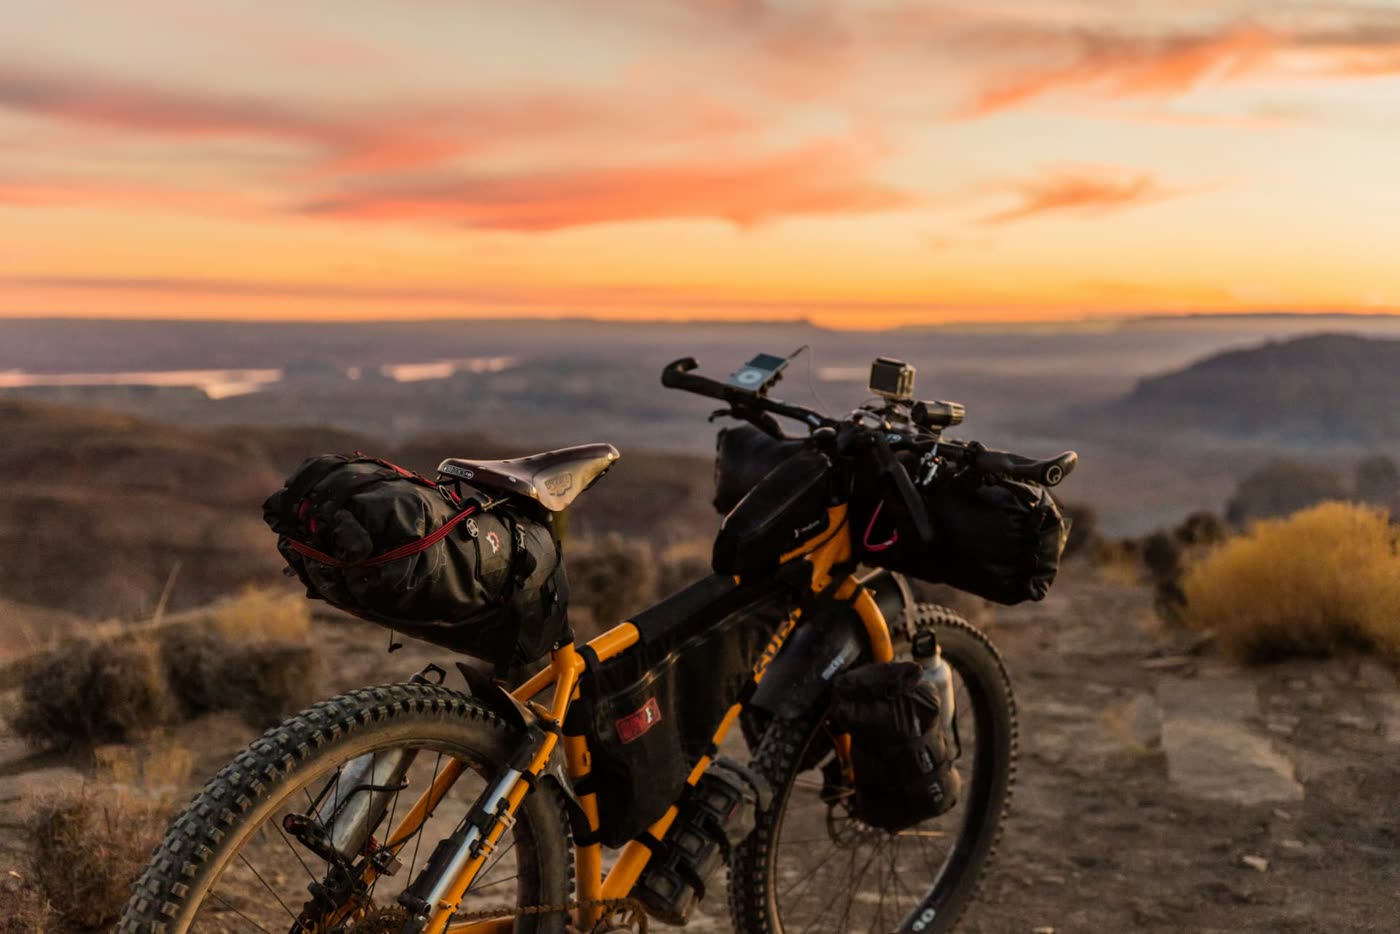
5. Create your Trail Closet listing
The Trail Closet listing flow is a guided sequence of short steps. You will need to be signed in, and your progress is saved as a draft as you go, so you can stop and come back. Here is what each step asks for:
- Photos - upload up to eight images (JPG, PNG, WebP or HEIC, 10 MB max each) and choose which one is the main photo buyers see first
- Item - pick a category and subcategory, then enter the brand, item title and model
- Condition - choose the condition option that honestly matches the gear, using the definitions shown beside each one
- Description - write the details: age, use, wear, repairs or modifications, missing parts and what is included
- Price - enter the original retail price (sometimes prefilled from the product catalog, and always editable) and your asking price. The page shows the 15% seller fee and your estimated payout as you type
- Delivery - choose shipping, local pickup, or both, and set free or flat-rate shipping if you ship
- Returns - decide whether you accept returns or not
- Review - see a preview close to what buyers will see, then publish
There is no upfront listing fee. Trail Closet deducts a 15% seller fee when your item sells.
Ready to list something? The guided flow takes a few minutes and saves as you go.
6. Describe your gear accurately
The description is where you turn your inspection notes into something a buyer can act on. Aim to cover:
- Brand and model, including the model year if you know it
- Size, capacity, length or fit - whatever dimension matters for that item
- Condition, in your own words, alongside the condition option you selected
- Approximate age, when you know it
- How it was used - a pack that did one thru-hike and a pack that did fifty day hikes wear very differently
- Any damage, and where it is
- Any repairs or modifications, and who performed them
- Exactly what is included, and anything that is missing
Buyers shopping secondhand are trying to close an information gap. A specific, complete description lets them decide quickly and confidently, reduces the questions you have to answer, and makes it far less likely that the item arrives as a surprise. Vague listings sit; detailed ones get read.
7. Set your price
When someone is looking at your listing, they are usually weighing it against several other options at once:
- The current new retail price of the same or a similar model
- Other secondhand listings for comparable items
- Condition, and how much use is left
- Age and how many generations old the model is
- Brand and model reputation
- Included accessories, and whether they would otherwise have to be bought separately
Price the item in front of you, not the one you remember buying. If it has a repair, a missing footprint or a worn-out tread, that belongs in the number as well as the description. Categories vary too - an all-but-new used climbing gear item and a well-ridden setup from the used cycling gear category follow different curves, as do seasonal items like used ski gear that shoppers look for at particular times of year.
No pricing approach guarantees a sale. What a reasonable, well-supported price does is make the decision easy for the buyer who is already looking for what you have.
8. Complete the sale
Once your listing is live, the process on Trail Closet works like this:
- Buyers can message you through the platform with questions before they buy. Keep those conversations on Trail Closet
- When a buyer completes checkout, the listing is locked and marked sold so nobody else can purchase it
- The order appears in your Sales, with the buyer's chosen fulfillment method - shipping or local pickup - and a purchase-time snapshot of the listing and its terms
- You move the order through its stages, and both sides can see the status history and keep messaging about that specific order
- After the order is completed, the buyer and seller can leave reviews
- The 15% seller fee is applied to the sale price
It is worth being clear about what the platform does not do. Trail Closet does not authenticate or inspect gear, does not verify condition claims on your behalf, and does not provide prepaid shipping labels or shipping insurance. Accuracy is the seller's responsibility, and buyers are expected to read listings and ask questions. Our marketplace rules and seller guidelines spell out what is expected on both sides.
9. Ship the gear
Sellers handle shipment themselves. You choose the carrier and service, pay for and print the postage through that carrier, then enter the carrier and tracking number on the order so the buyer can follow it.
Practical suggestions
- Package the item securely, with enough padding that nothing shifts in transit
- Use an appropriately sized box or package - oversized boxes let contents move, and undersized ones stress the seams
- Protect vulnerable components: tent poles, stove valves, rod tips, ski edges, bike derailleurs, hard shells and anything with a lens
- Remove or secure loose parts and batteries, and drain any fuel
- Follow your carrier's requirements, especially for oversized items and anything classified as hazardous - pressurized canisters and certain batteries have real restrictions
- Keep your receipt and consider the carrier's own insurance for higher-value items
- Enter the tracking information promptly after you drop the package off
For local pickup, agree on a public meeting place and a time, and confirm the details through platform messages so there is a record.
Why sell outdoor gear on Trail Closet?
Trail Closet is focused specifically on outdoor equipment rather than being a general-purpose marketplace. The categories, condition definitions, listing fields and search filters are built around gear, which means your listing is described in terms buyers in this space already use - and the people browsing arrived looking for outdoor equipment in the first place.
Listing is free, and the 15% seller fee only applies when your item sells. If you are curious what the other side of the marketplace looks like before you list, browse used outdoor gear across every activity, from used hiking gear to used paddling gear.